Coming in to visit our shop?
We are often not in (yep, we’ll be on the beach ‘test flying’!)
So please give us a call on 0417 723 937 to make sure we’re in before you come.
About Leading Edge Kites
Leading Edge Kites first flew in 1988 when Bob Dawson began building his big high performance kites in Coffs Harbour and testing them down on Park Beach
(hey, it’s a hard job testing kites on the beach all day but, well, someones gotta do it!)
We’ve had kites for sale in Australia ever since.
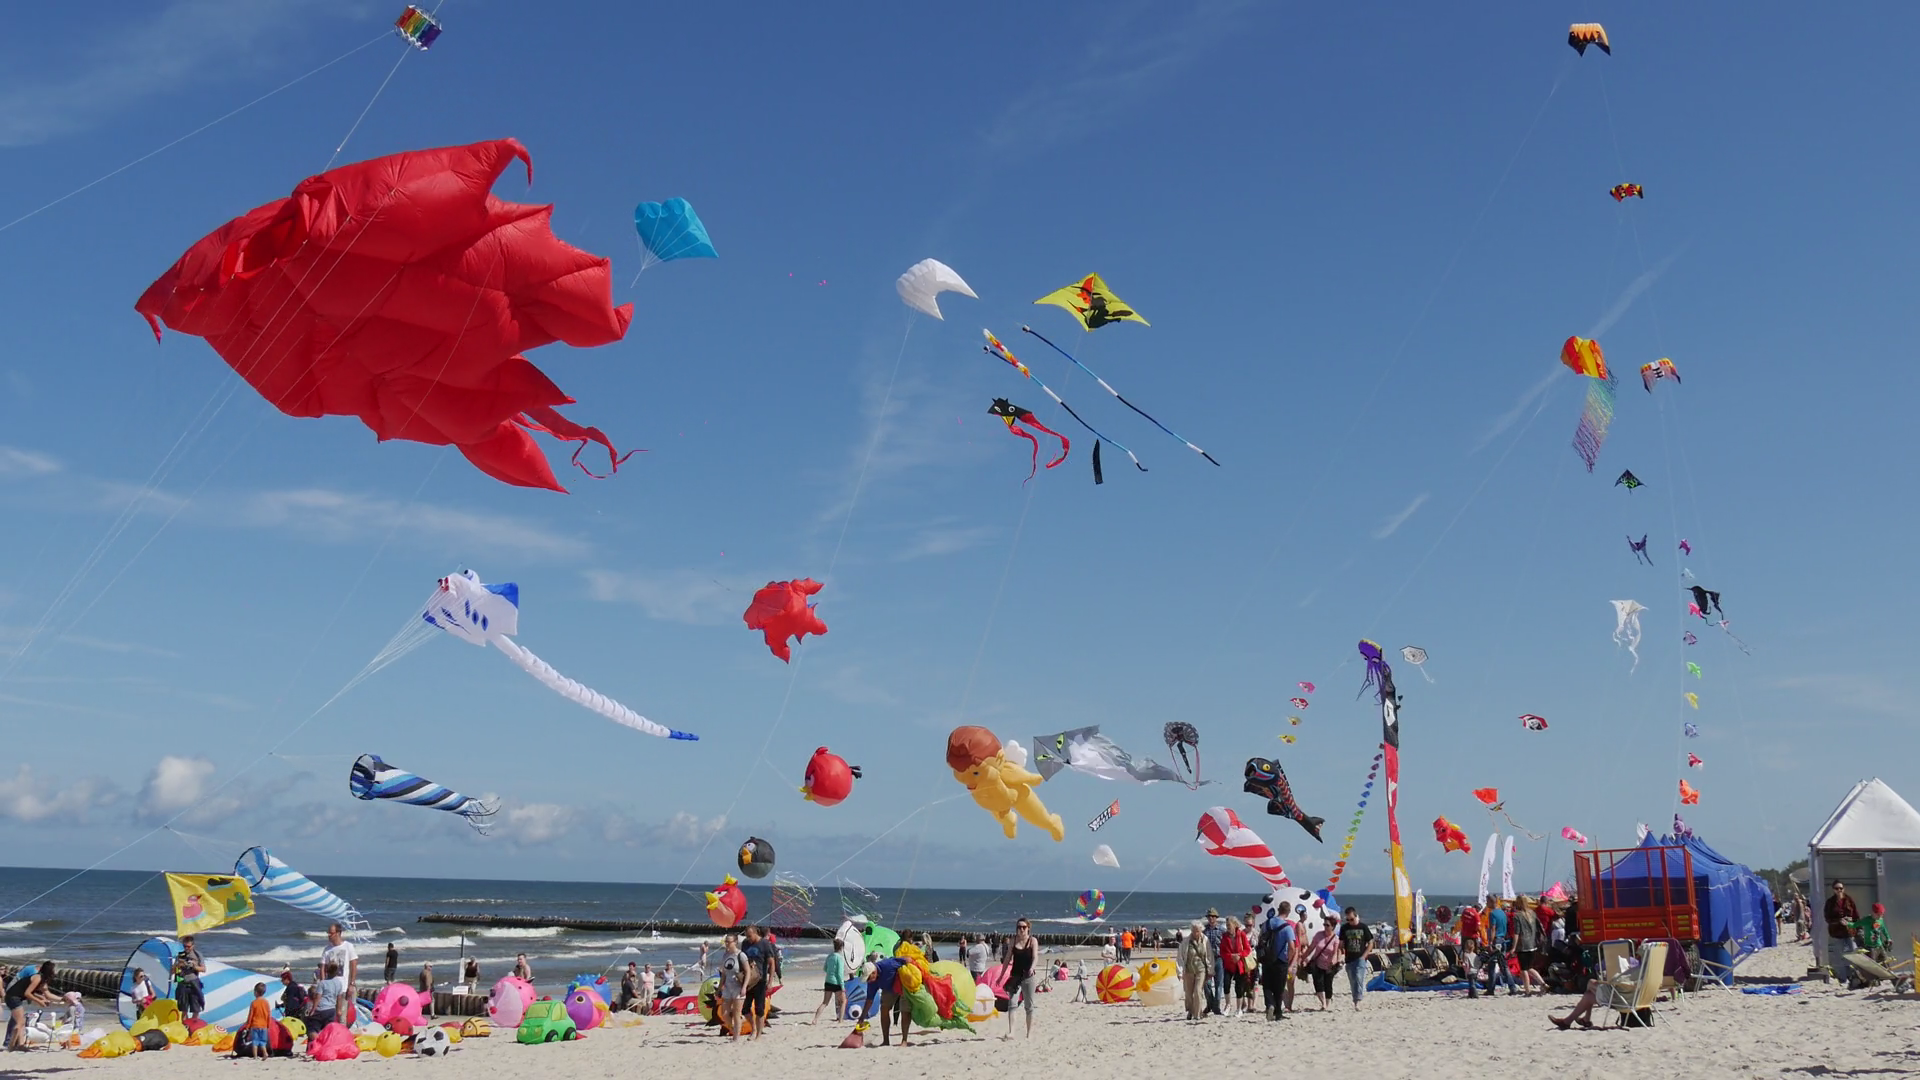
International Kite Festivals
Bob flew in competitions and carnivals all over the world since then including a standing invitation (only a few people around the world get these…) to the Pasir Gudang Kite Festival in Malaysia.
He’s flown in competitions as far away as France and England and as tropical as New Caledonia.
(Yep, we told you it’s a hard job!)
Along with Neil Taylor and Rob Brassington, Bob was considered one of the foremost performance kite makers in Australia and is renowned for his constant innovation (it gives him another excuse to go to the beach…)
Oh yeah, we forgot to mention that Bob is the current Australian champion and has been, with his Ocean Breeze team, since 1998.
(this is a bit of a ‘sop’ really as there hasn’t been an Australian championships for about 10 years but the team still dine out on stories of their early exploits!)
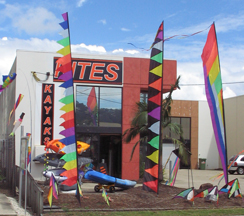
The original shop has had many moves and guises. This was our shop at Currumbin.
This photo is inside our current shop at Burleigh Heads on the fabulous Gold Coast.
The on-line shop however allows us to provide service and advice right across Australia.
Leading Edge Kites
7/10 Rothcote Court
Burleigh Qld 4220
Ph: 0417 723 937
ABN: 80 028 605 863
Kite Surfing
With the introduction of Kite surfing to Australia in a big way Bob became the kite surfing specialist at Leading Edge and he brought in Ros to look after the Single String Kites and Dual Control Kites.
She also works with schools and teachers who are looking for kite making kits.
These are make your own kites that are great for class activities or OSHC kite making workshops.
Leading Edge has an extensive range of resources for teachers that make classroom kite making a breeze.
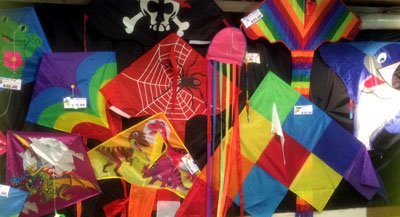
We stock a great range of kids kites
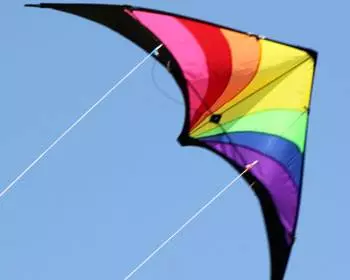
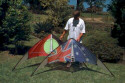
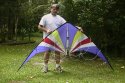
and the best stunt kites in Australia.
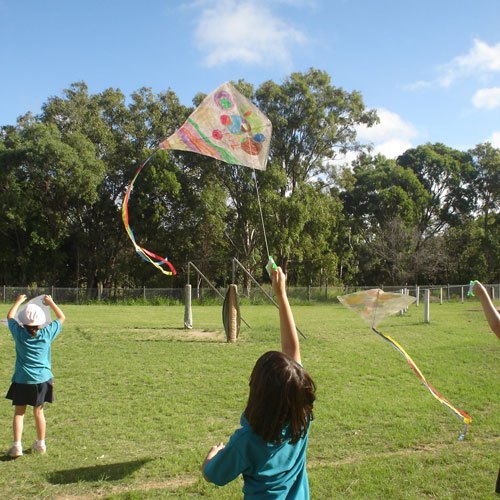
as well as make-your-own-kits for schools
About Leading Edge Kites in recent years
Tragically our beloved friend and founder passed away some years ago so Leading Edge is now entirely run by us from our Burleigh Heads shop. Our main focus is on ‘ordinary’ kites for kids, teenagers (and adults who want to be kids!) We continue to stock a wide range of single string kites and dual control kites for all ages at great prices. We’re pretty big on personal service and pride ourselves on our exceptional customer service as well as our great kites.
So….check out our range of Windspeed and Ocean Breeze kites and if you’ve got any questions about our kites or kite flying in general, give us a call or drop us an email…with over 30 years experience in kites we reckon we will have an answer or two to help you out!
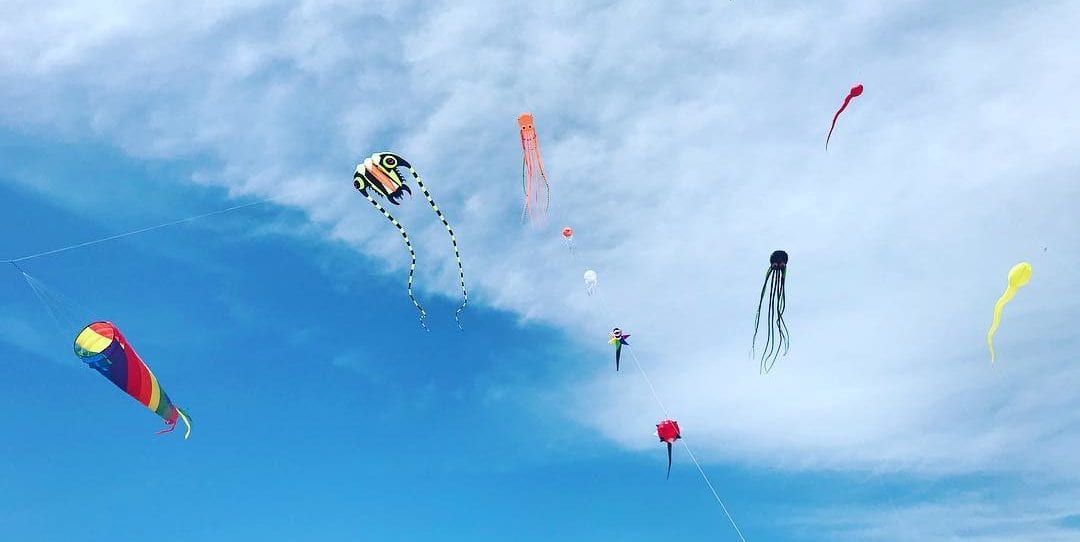
Leading Edge Kites are regulars at kite carnivals across Australia. This shot is from 2018 Redcliffe Kitefest in sunny Queensland.
Single line kites in our shop
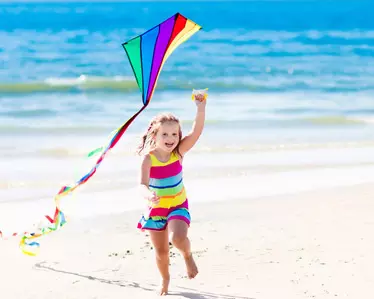
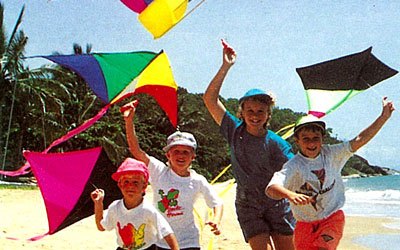
Kids flying on Trinity Beach
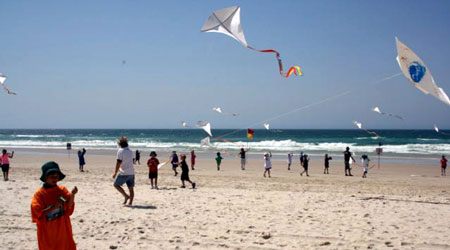
Our kite kits on the beach
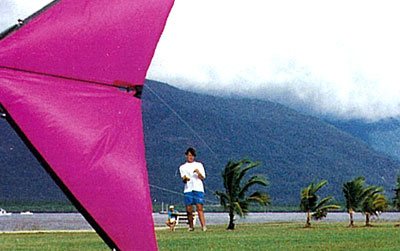
Stunt kite flying in Cairns